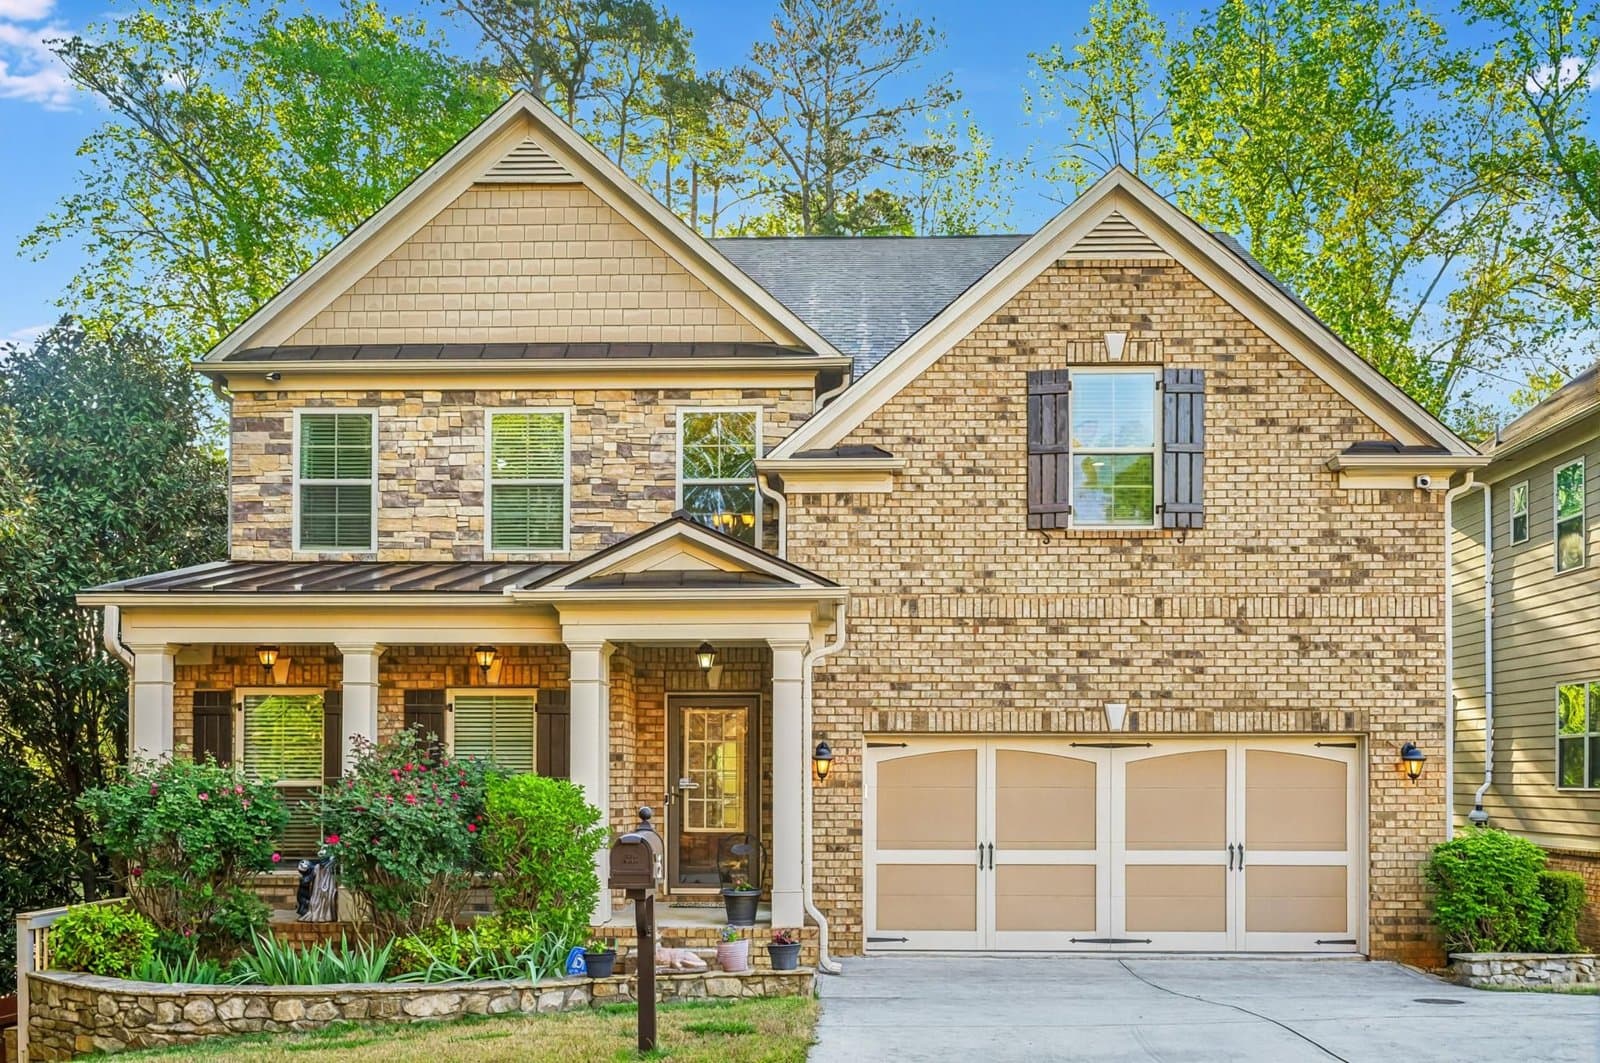
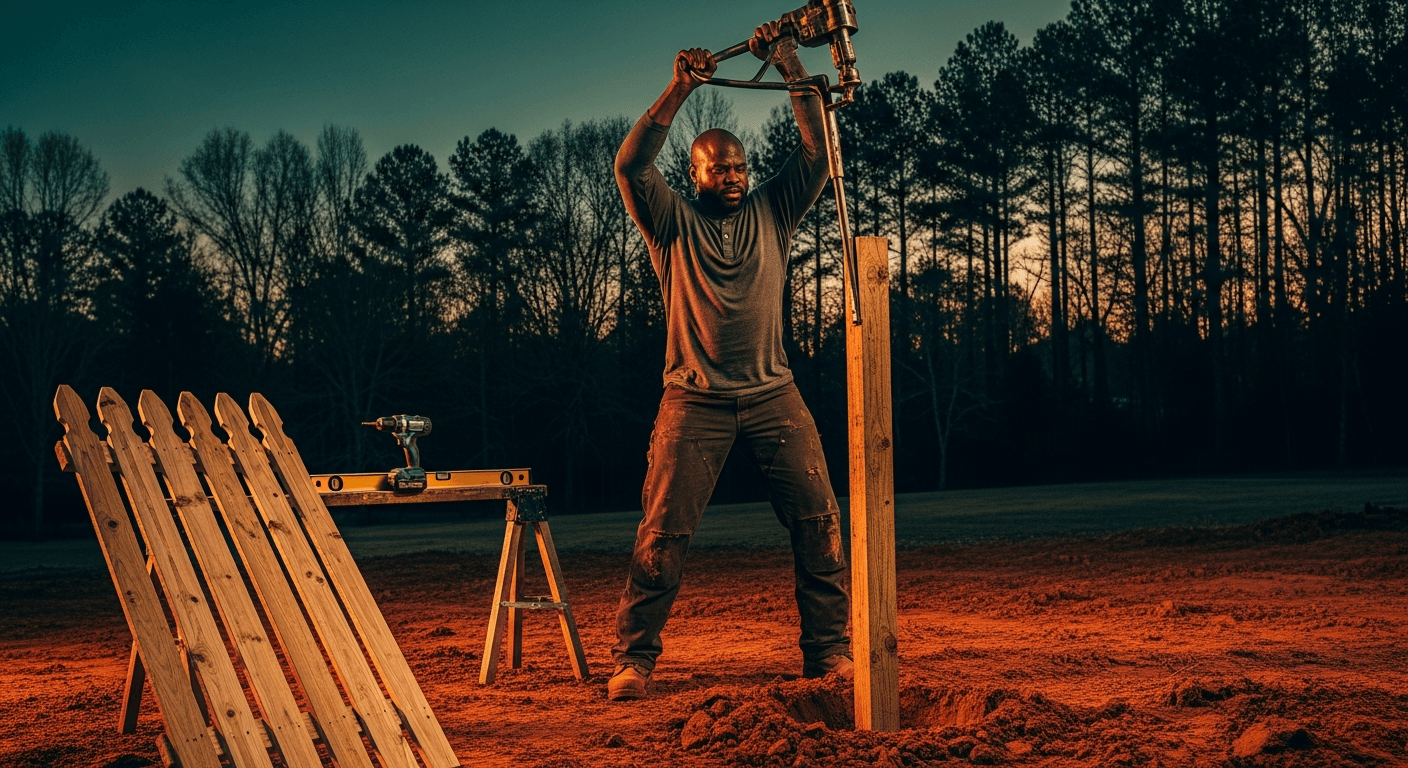
There's a moment on every project (I don't care if it's a data center in Midtown or a picket fence in Peachtree City) where the decisions stop being theoretical and start being permanent.
Brick gets laid. Posts go in. You look at it and think: that's the line now.
The piece that sparked this is from Karen Bertelsen over at The Art of Doing Stuff, who documented her own picket fence build. Her line about the 'approximately 14,000 decisions involved in choosing a picket fence' is funny because it's accurate. Anyone who's actually built something knows the decision load doesn't shrink with the project size. If anything, the small projects are worse, because every choice is visible at eye level, all day, forever.
I want to talk about what those decisions actually are, and why most people get them wrong before they ever pick up a post-hole digger.
The Decisions That Actually Matter (and the Ones That Don't)

Most people spend the bulk of their mental energy on the stuff that's easy to swap out later: paint color, picket style, cap design. That's fine. Those are real choices. But they're not the decisions that will make or break the project five years from now.
Here's where the real calls live:
Post material and burial depth. In Georgia, you're dealing with clay-heavy soil across most of the metro footprint: from the red clay of Cherokee County down through Fayette and Coweta. Clay holds moisture and shifts seasonally. A 4x4 pine post set 24 inches deep in Georgia red clay without proper drainage gravel at the base is a rotting post by year four or five. Cedar or pressure-treated pine set 30-36 inches with a gravel sump underneath? That fence outlasts the conversation about it.
Concrete vs. gravel vs. dry-pack. This is the one that divides people more than it should. Full wet concrete creates a water-trapping collar right at the post base: exactly where you don't want standing moisture sitting on wood grain. Dry-pack concrete mix (set it dry, let groundwater cure it) or a gravel-only set both perform better for wood posts in a wet climate. I've seen more posts fail at the concrete collar line than from any other cause.
Post height before cut. Set them proud, cut them level after the concrete cures. Don't try to set them at final height. The ground isn't flat, your reference line will drift, and you'll spend two hours shimming and re-shimming what should have been a ten-minute cut with a circular saw. Karen's photo of the uncut posts before trim is the right sequence: that's not laziness, that's construction logic.
The Brick Column Integration Question

The brick columns in Karen's build are the detail that separates a fence from a feature. They also introduce a set of structural considerations that a lot of DIYers underestimate.
Brick and wood move at different rates. Temperature swings, humidity cycles, seasonal ground shift, all of it causes differential movement between a masonry column and a wood panel. If the fence panels are hard-fastened to the brick with no flex allowance, you'll see cracked mortar at the attachment point within two or three Georgia summers. The right move is a lag-bolted ledger or a standoff bracket that lets the wood panel breathe independently from the masonry.
Also: the brick columns need their own footings. Not just a hole filled with concrete: actual footing pads below the frost line (which in metro Atlanta is nominal, but the clay movement alone justifies going 18-24 inches minimum). I've seen decorative brick columns heave an inch and a half in a single wet winter because someone treated them like decorative caps on a wood post rather than small masonry structures with their own load path.
This is the kind of thing that doesn't show up in a Pinterest tutorial. It shows up two winters later when you're re-pointing mortar and wondering what went wrong.
What This Costs (Real Numbers)
A pressure-treated pine picket fence with brick columns in metro Atlanta — call it 80 linear feet, which is a typical suburban side-and-back run — lands somewhere between $3,800 and $6,500 installed depending on post spacing, picket style, and whether you're doing brick columns at gates and corners only or at every bay.
DIY material-only on the same run: $900 to $1,600 depending on cedar vs. pressure-treated and how many columns you're doing.
The labor gap is real. The skill gap is manageable. The tools required (post-hole digger (rent one, don't buy), circular saw, level, string line, masonry drill if you're attaching to existing brick) total maybe $80-120 in rentals if you don't already own them.
Where people overspend on DIY: buying premium picket profiles when standard dog-ear pine painted out looks identical at 20 feet. Where people underspend and regret it: cheap fasteners. Use hot-dipped galvanized or stainless ring-shank nails. Electro-plated zinc fasteners in Georgia humidity are rust stains on your pickets by summer two.
The Thing Nobody Tells You Until It's Too Late
Every fence project has a moment — Karen describes it perfectly, the brick columns up, posts uncut, the line set but not yet finished — where it looks wrong. Too tall, too raw, too unresolved.
That moment is not a sign that you made the wrong choices. It's the natural midpoint of every construction sequence where the bones are visible and the finish isn't. I've stood in data centers at that stage and had clients call me convinced something was wrong. I've stood in residential kitchens with the rough-in exposed and watched homeowners panic.
The bones being ugly is part of the process. The question is whether the bones are right, not whether they're pretty. Pretty comes at the end.
If your posts are plumb, your spacing is consistent, your footings are solid, and your attachment hardware is correct, the fence is going to be fine. Every other decision from that point forward is cosmetic.
That's the construction truth that applies whether you're building a 100-foot picket fence in Senoia or running electrical in a 40-story tower in Buckhead.
The bones either hold or they don't. Make sure they hold.
Drop your project details in the comments (material choice, soil type, what you're up against) and I'll tell you what I'd do.
Thinking about a move?
Beckett Real Estate works the whole of Metro Atlanta. Tell me the address or the neighborhood and I will tell you what the house is really like, what the inspection usually finds, and what the number should be.
Explore new constructionSearch homes for saleTalk to an agent nowMore articles like this